
Last updated November 22, 2026
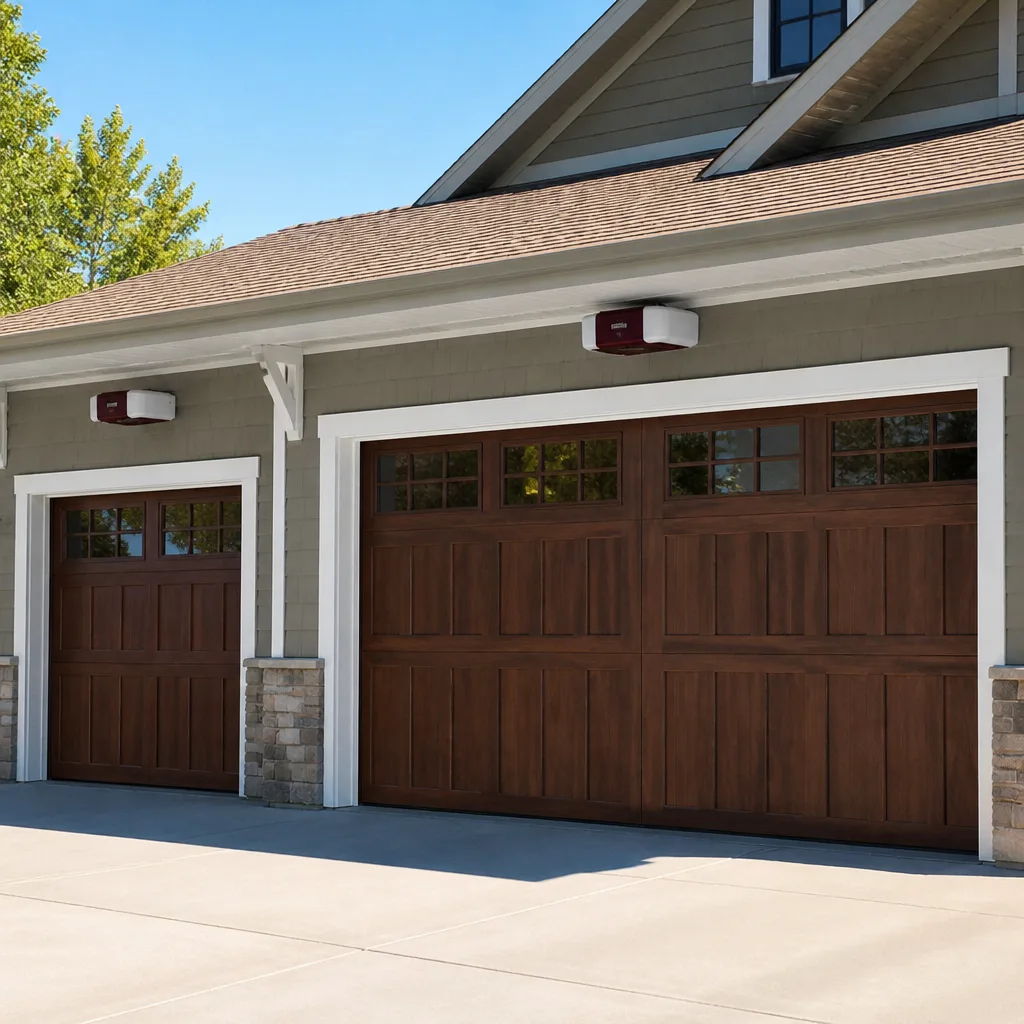
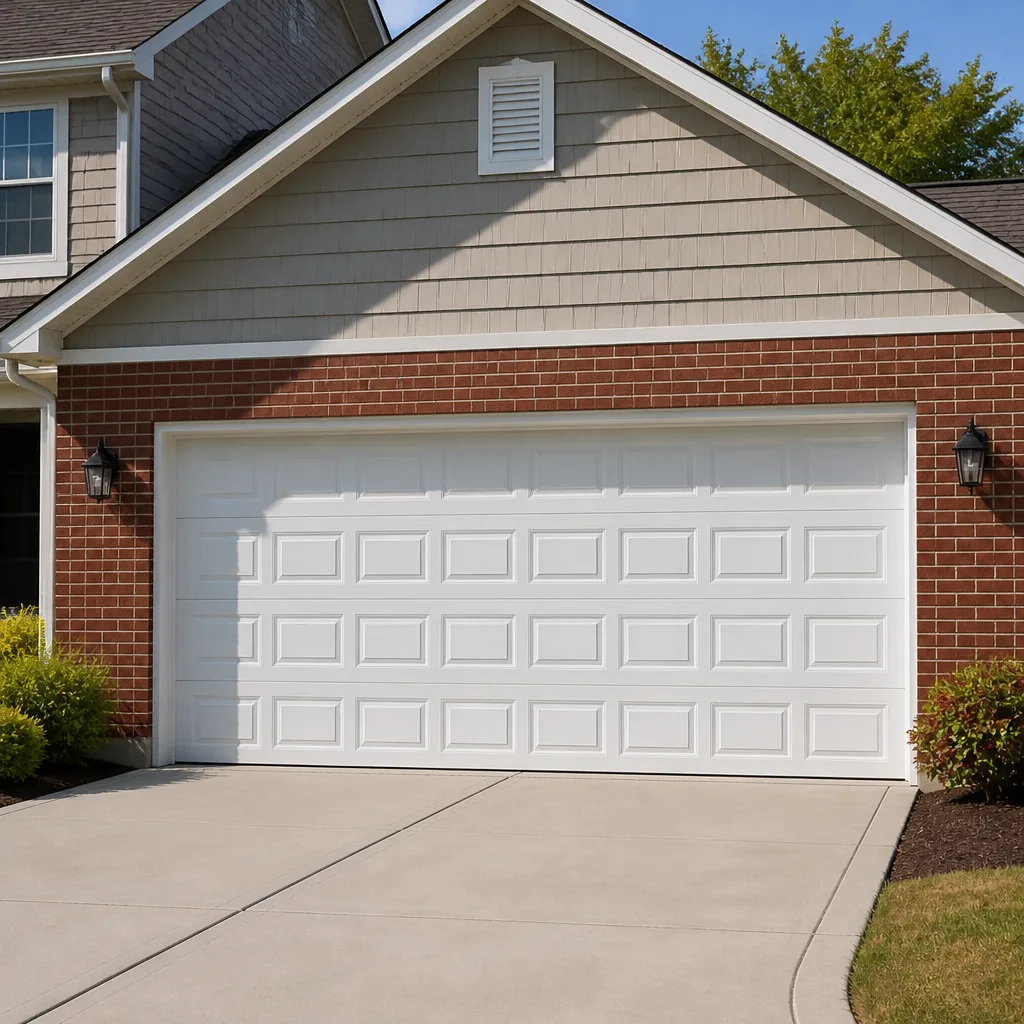 Raised-panel steel
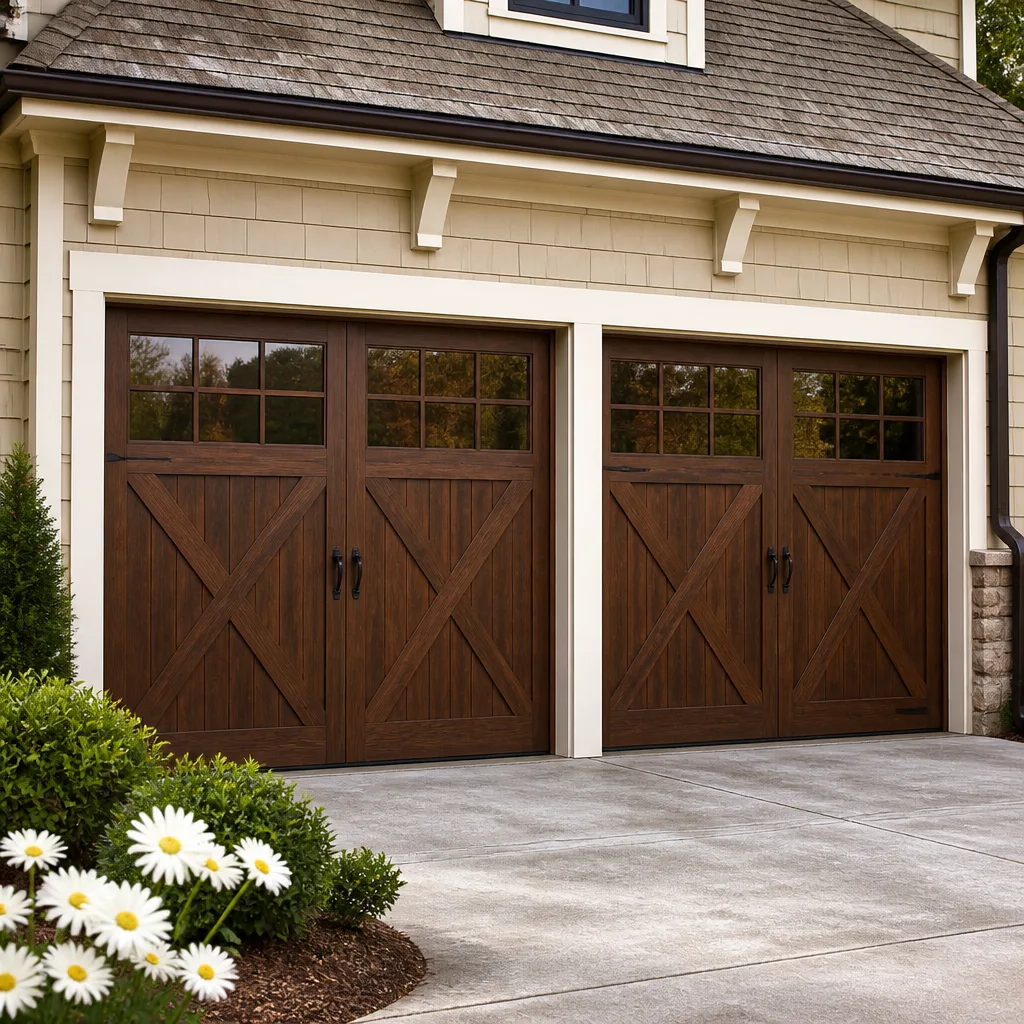 Carriage house
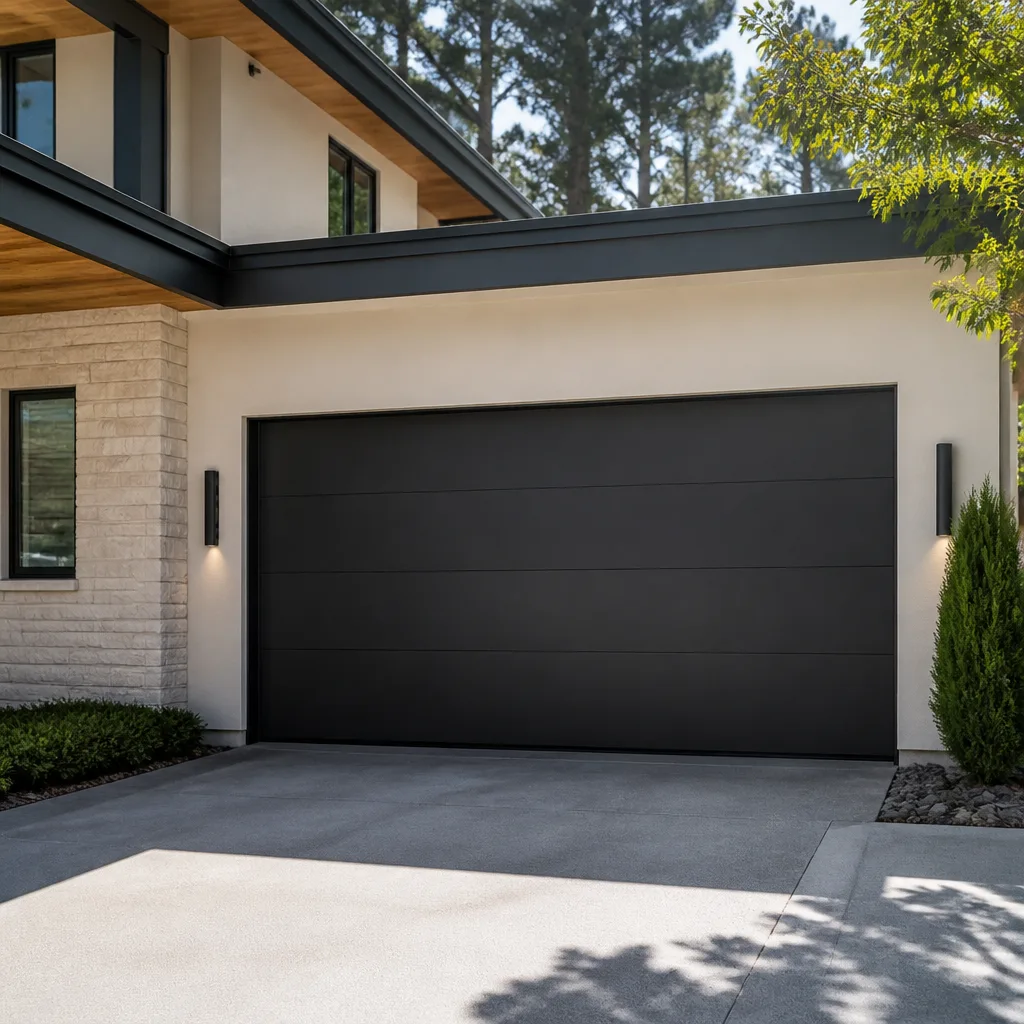 Modern flush
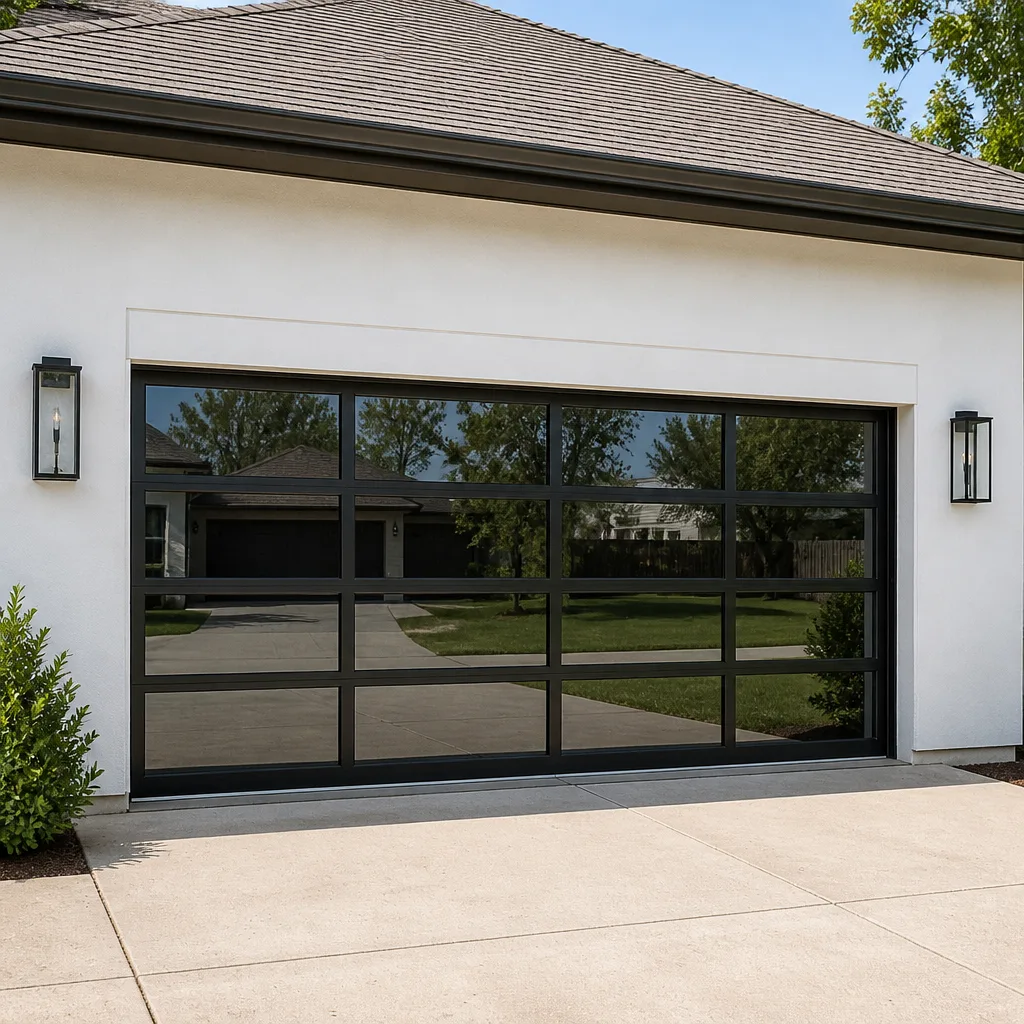 Full-view glass
 LiftMaster openers
 Chamberlain openers
Full 25-point door and opener safety check with every visit - springs, cables, rollers, tracks, and your LiftMaster or Chamberlain opener included
You get a price before we start. It does not change when the pro arrives.
Get your free estimateGarage Door Repair Maintenance Checklist for Sanford Homeowners
The number-one call we get after a heavy Florida rainstorm isn’t a broken spring. It’s a door that won’t reverse because the photo-eye lens fogged up with condensation, then attracted dirt until the safety beam couldn’t read across the opening. That failure almost never makes it onto a generic maintenance list, which is why most checklists don’t help much here. Sanford’s humidity, sandy soil, and long storm season wear a garage door in ways a northern checklist ignores. This guide is organized by the parts that actually fail first in Sanford conditions, so you spend your time on what matters and skip the low-risk items.
Quick Answer
A garage door maintenance checklist for Sanford homeowners should prioritize four things in this order: photo-eye alignment and lens cleanliness, high-humidity lubrication with a silicone-based product, weatherstripping inspection, and a safe visual check of spring corrosion. Those are the parts that fail first in central Florida’s humidity, sandy soil, and storm season. Everything else on a standard list matters less and can wait.
Styles & brands we work with
- Raised-panel steel
- Carriage house
- Modern flush
- Full-view glass
- LiftMaster openers
- Chamberlain openers
Table of Contents
- Why a Sanford Checklist Is Different
- Photo-Eye Alignment and Condensation
- High-Humidity Lubrication Protocol
- Weatherstripping Inspection
- Spring Tension and Corrosion Visual Check
- Pre-Hurricane-Season Checklist
- Opener and Battery Backup Check
- A Realistic Maintenance Schedule
Why a Sanford Checklist Is Different
Most garage door maintenance checklists are written for a four-season climate. They worry about ice, salt on the roads, and the freeze-thaw cycle cracking concrete. Sanford doesn’t have those problems. What it has is year-round humidity, sandy soil that shifts under a slab, intense UV on anything facing the sun, and a storm season that tests every seal on the door. A checklist that ignores those conditions points you at the wrong parts.
The failure order is different here too. In colder markets, springs and cables tend to fail first. In Sanford, we see photo-eye problems, seal deterioration, and lubrication failures show up before the mechanical parts do, simply because the environment attacks electronics and rubber faster than it attacks steel. That changes how you should prioritize your inspection time.
Here’s how the priorities stack up for a Sanford door:
- Highest priority: photo-eye lens and alignment, weatherstripping, lubrication.
- Medium priority: spring corrosion visual check, opener force settings, manual release cord.
- Lower priority: hinge tightening, track bolts, cosmetic look of the panels.
If you only have twenty minutes a month, spend all of it on the top group. Those three items prevent the most common call we take from Sanford homeowners, and none of them require a tool beyond a rag and a spray can. When something in the top group does fail, that’s usually a job for garage door repair, not a weekend project.
Photo-Eye Alignment and Condensation
The photo-eye is the small lens mounted about six inches off the ground on each side of the door opening. It sends an invisible beam across the threshold so the door reverses if something or someone is in the way. In Sanford, that lens is the first thing to fail, and it fails in a specific pattern.
Overnight condensation forms on the lens. Dust, pollen, and lawn debris in the air stick to that moisture. By morning the beam is scattering off a dirty lens instead of passing cleanly to the receiver, and the door refuses to close or closes and immediately reverses. Homeowners often assume the opener has died. Usually it’s just the eye.
Here’s the check, done in order:
- Look at both lenses. If either has visible film, dust, or water spots, wipe it with a dry microfiber cloth. Don’t use a wet rag; you’ll just add moisture back.
- Check that the small indicator light on each unit is lit and steady. A flashing light usually means the beam is misaligned or blocked.
- Stand in the doorway and watch the lenses while a helper closes the door. If the door reverses when you block the beam with your leg, the safety system works.
- Look at the mounting brackets. Sandy soil under the slab moves seasonally, and that movement can nudge a bracket a few degrees. A bracket that looks visibly tilted is out of alignment.
Simple cleaning fixes most of these. A lens that’s been nudged out of alignment by ground movement is a five-minute adjustment for a technician but frustrating to chase with a screwdriver and no reference point. If the door still won’t close after a clean lens and a clear path, that’s the point to stop and call. The safety reverse is not something to disable or work around.
High-Humidity Lubrication Protocol
This is the single most misunderstood part of garage door maintenance in Florida. Most homeowners reach for WD-40 because it’s what’s in the garage. WD-40 is a solvent and water displacer, not a lasting lubricant. In Sanford’s humidity it evaporates, leaves the metal dry, and can actually attract dust that turns into a gritty paste on the rollers and hinges. It shortens part life instead of extending it.
What works in this climate is a silicone-based garage door lubricant. Silicone doesn’t wash away in humidity, doesn’t turn gummy, and doesn’t collect grit the way petroleum-based sprays do. Some technicians use a lithium grease on the opener rail and screw drive, but on the door itself, silicone is the safer default.
Here’s what to lubricate, in order, once a season or whenever the door starts sounding loud:
- Hinges – one short spray into the pivot point of each hinge. Don’t soak them.
- Rollers – a drop on the bearing of each steel roller. Nylon rollers generally need nothing.
- Springs – a light coat along the coil. This is a spray-and-look job only; never touch, adjust, or try to turn a spring.
- Track – a very light film. Tracks should stay mostly clean and dry; heavy grease in a track collects debris.
- Opener rail – follow the opener manufacturer’s guidance, which varies by drive type. A LiftMaster belt drive and a Chamberlain screw drive take different treatment, and getting it wrong is a common cause of premature wear.
Wipe away excess after each application. A door that’s dripping lubricant will collect grit, and grit is what wears rollers out. If your opener is a Craftsman or Raynor model and you’re not sure what its rail wants, that’s a good question to ask on a service call rather than guess at.
Weatherstripping Inspection
Weatherstripping is the rubber or vinyl seal around the door: the bottom seal that touches the floor, the side seals in the tracks, and the threshold seal on the concrete. In Sanford these three fail in three different ways, and each one tells you something different about your door.
The bottom seal swells. Humidity and standing water on the driveway soak into the rubber. It swells, loses its shape, and stops making contact with the floor. You’ll notice daylight under the door, water coming in during a storm, or a door that closes but leaves a gap at one corner. A swollen seal also drags, which loads the opener.
The side seals crack from UV. The vertical seals facing the sun take direct UV year-round. They dry out, crack, and eventually break away from the track. Once they’re gone, rain blows in at the corners and the door rattles in wind.
The threshold seal separates from the concrete. This is the one most homeowners miss. The threshold is the raised lip the door seals against at the floor. Adhesive fails over time, especially where water pools, and the seal lifts. You can check it by running a hand along the floor line and feeling for gaps or loose edges.
Replacing weatherstripping is one of the few garage door jobs a homeowner can reasonably do. It’s also one of the most common reasons a door feels drafty or lets water in. If the seals are shot across the whole door and the panels are also showing wear, at some point the math favors a conversation about garage door installation rather than chasing seal after seal.
Spring Tension and Corrosion Visual Check
Springs are the most dangerous part of any garage door. They’re under extreme tension, and a spring that lets go can cause serious injury or worse. This section is deliberately a look-only check: you never touch, adjust, lubricate by hand, or try to test a spring. What you can do safely is look at it and catch early corrosion before it becomes a break.
Sanford’s humidity is hard on steel springs. The coils develop surface rust, and rust pits the wire. A pitted spring loses strength unevenly and is far more likely to snap than a clean one. The failure usually happens when the door is moving, which is exactly when you don’t want it.
What to look for, standing safely back, with the door closed:
- Orange or brown rust on the coils, especially in the middle of the spring where moisture collects.
- Gaps or separation in a torsion spring – a visible split in the coil is a red flag.
- Stretched or sagging extension springs that look longer than they should.
- A safety cable running through each extension spring. If it’s missing, that’s an old or improperly installed door.
- Sound. A loud bang from the garage, or a door that suddenly feels very heavy to lift, means a spring has likely already failed. Stop using the door.
If you see rust, a gap, or you’ve heard that bang, call before you use the door again. Spring repair is a dedicated service for us because it’s the part of the trade most often botched. It’s not a DIY job, and a door driven by a broken spring can bend tracks and burn out the opener. Our technicians have up to 14 years of experience with this exact work.
Pre-Hurricane-Season Checklist
Storm season in Sanford is a fixed date on the calendar, which means there’s no excuse for being caught unprepared. The checklist below is what we’d walk through on any door before the season starts. None of it is complicated. All of it matters when wind is driving rain sideways against your door.
- Check the door’s wind rating. Most standard residential doors are not rated for high wind. If yours isn’t, a bracing kit adds reinforcement to the panels and tracks. Bracing isn’t a substitute for a rated door, but it helps.
- Test the manual release cord. Pull it once to confirm it disengages the door from the opener, then re-engage. In a power outage or storm, this is how you get the door open or closed. If the cord is frayed or the release won’t catch, fix it now, not during a storm.
- Verify battery backup. Many modern openers – LiftMaster and Chamberlain among them – support a battery backup that keeps the door working when the power goes out. Check that the battery is installed and holding charge. A dead backup battery is useless in the exact moment you need it.
- Inspect the seals again. Storm-driven rain finds every gap. Fresh weatherstripping is cheap insurance against water intrusion.
- Clear the tracks. Debris and grit in the tracks can jam a door under stress. Wipe them clean.
- Trim vegetation back. Branches and vines near the door become projectiles in wind. This is basic yard prep but it protects the door.
Do this walk-through once a year, well before the first named storm. If anything on the list is beyond a visual check, that’s the time to book a service call, not the week the storm is forecast.
Opener and Battery Backup Check
The opener is the part of the system most homeowners understand least. It’s also the part that quietly wears out. A few checks a year keep it working and catch problems before they leave you locked out of your own garage.
Start with the force settings. Every opener has a sensitivity setting that controls how hard it pushes before reversing. If it’s set too tight, the door reverses on its own for no apparent reason. If it’s too loose, the safety reverse won’t trigger when it should. Most openers have a simple test: place a roll of paper towels or a piece of wood flat on the floor in the door’s path and close the door. It should reverse on contact. If it doesn’t, the setting needs attention.
Next, listen. A grinding, scraping, or rhythmic clicking from the opener usually means worn gears or a failing motor. A door that hesitates or reverses at the same spot every time points to a sensor or setting issue. Those sounds and symptoms are worth acting on early.
For the battery backup, check it the same way you’d check a smoke detector battery: know it’s there, confirm it holds charge, and replace it on schedule. If you’re unsure whether your opener even supports one, that’s a quick question on a service call. Chamberlain and Craftsman units vary by model, and we work on both.
If the opener is failing, garage door opener repair is usually a same-day fix. Replacing an opener that’s simply at the end of its life is a different decision, and we’re glad to walk through both options.
A Realistic Maintenance Schedule
Maintenance only works if it’s realistic. Most homeowners won’t do a twenty-point inspection once a month, and they don’t need to. Here’s a schedule built around how the parts actually wear in Sanford, so you spend effort where it pays off.
Monthly (five minutes): Wipe the photo-eye lenses. Look at the seals for daylight or gaps. Listen to the door as it opens and closes. That’s it.
Seasonally (twenty minutes): Lubricate the hinges, rollers, springs, and track with silicone. Test the photo-eye by blocking the beam. Run the force test with a piece of wood. Check the manual release cord.
Annually (before storm season): The full hurricane prep list above. Inspect the springs for corrosion. Check the battery backup. Look at the tracks for alignment and debris. Trim vegetation back from the door.
Anything that shows up as a “no” on this schedule moves to the professional list. A dirty lens is yours. A misaligned bracket, a rusty spring, or an opener that won’t hold its settings is ours.
Common Mistakes to Avoid
- Using WD-40 as a lubricant. It’s a solvent, not a lasting lubricant. In central Florida humidity it evaporates and leaves the metal dry, and it collects dust. Use a silicone-based product instead.
- Trying to adjust or replace a spring. Springs are under extreme tension and can cause serious injury. A visual check is fine; touching the hardware is not. This is trained-professional work, always.
- Disabling the photo-eye to stop the door reversing. If the door won’t close because of the safety beam, the answer is to fix the beam, never to bypass it. That beam prevents the door from closing on a child or pet.
- Ignoring a swollen bottom seal. It looks cosmetic, but a swollen seal drags on the floor, loads the opener, and lets water in during storms. Replace it before it damages something else.
- Skipping the battery backup check. A backup battery that you’ve never tested is decoration. Check it before storm season, every year.
- Assuming a loud door is normal. A door that’s gotten louder over time has a lubrication or wear issue. That’s an early warning, not a quirk to live with.
- Doing a “full tune-up” with no reference point. A generic checklist points you at the wrong parts in this climate. Prioritize photo-eye, weatherstripping, and lubrication first.
See the difference
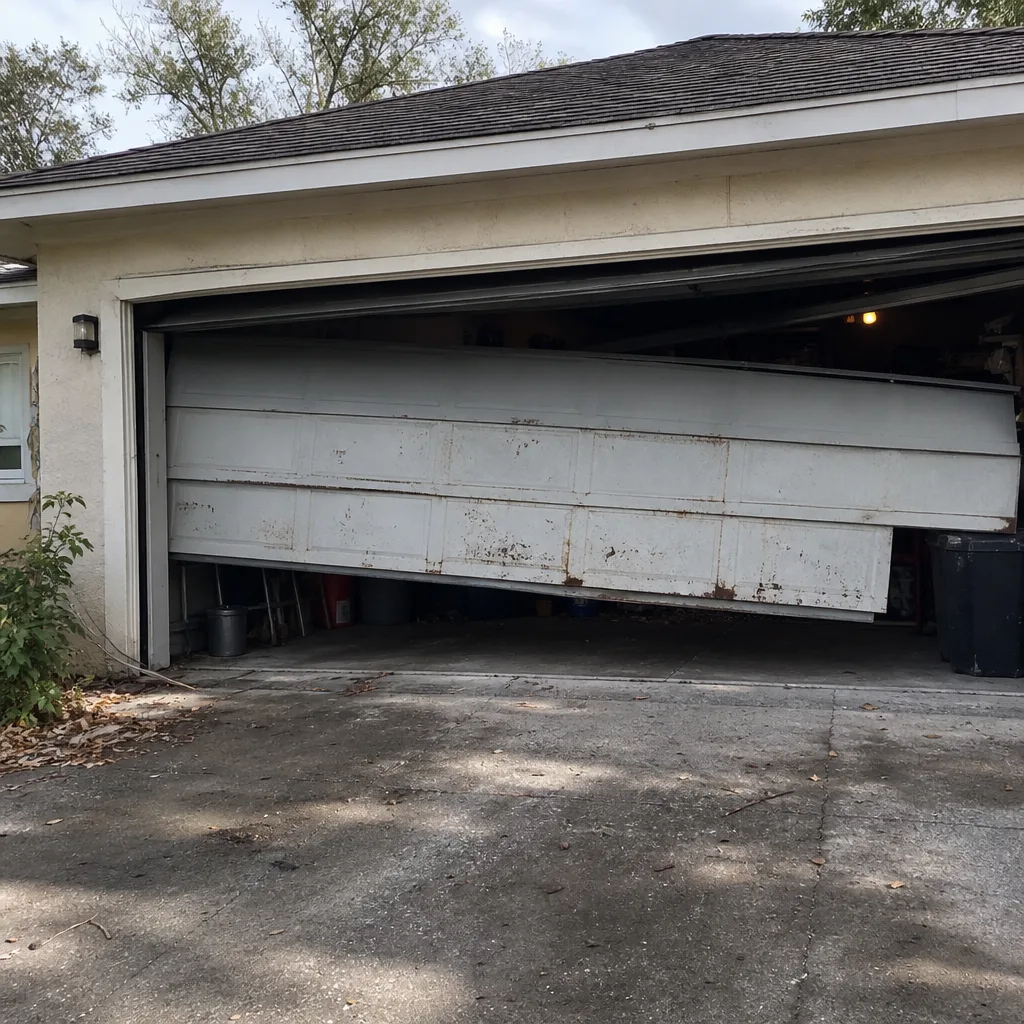 Before
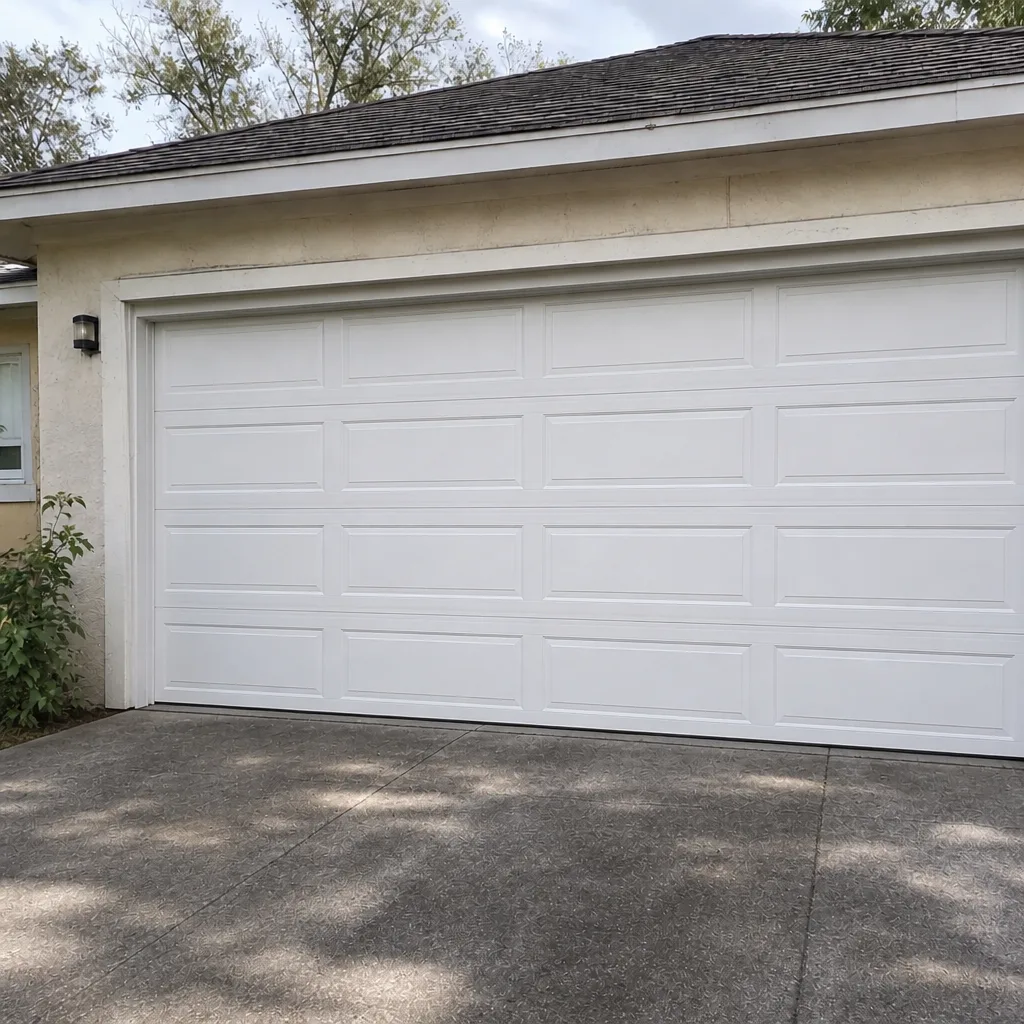 After
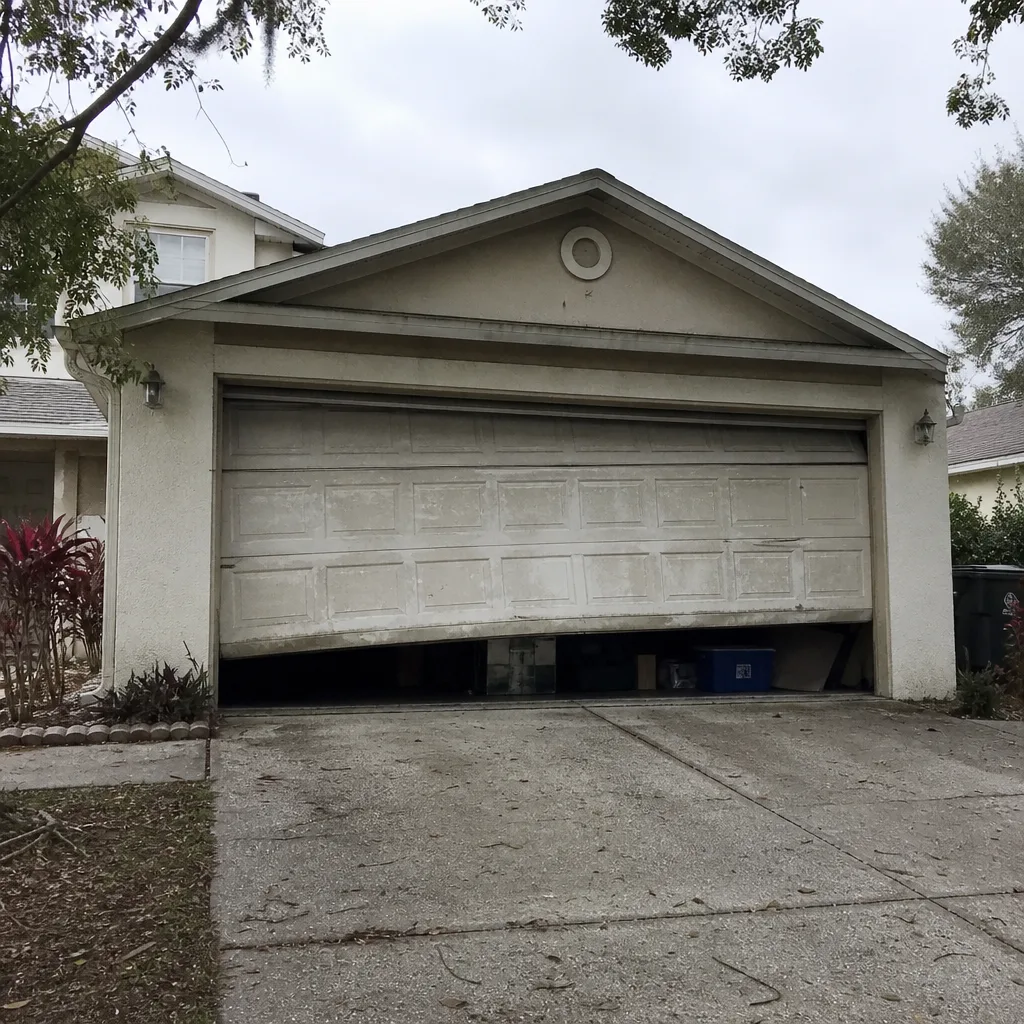 Before
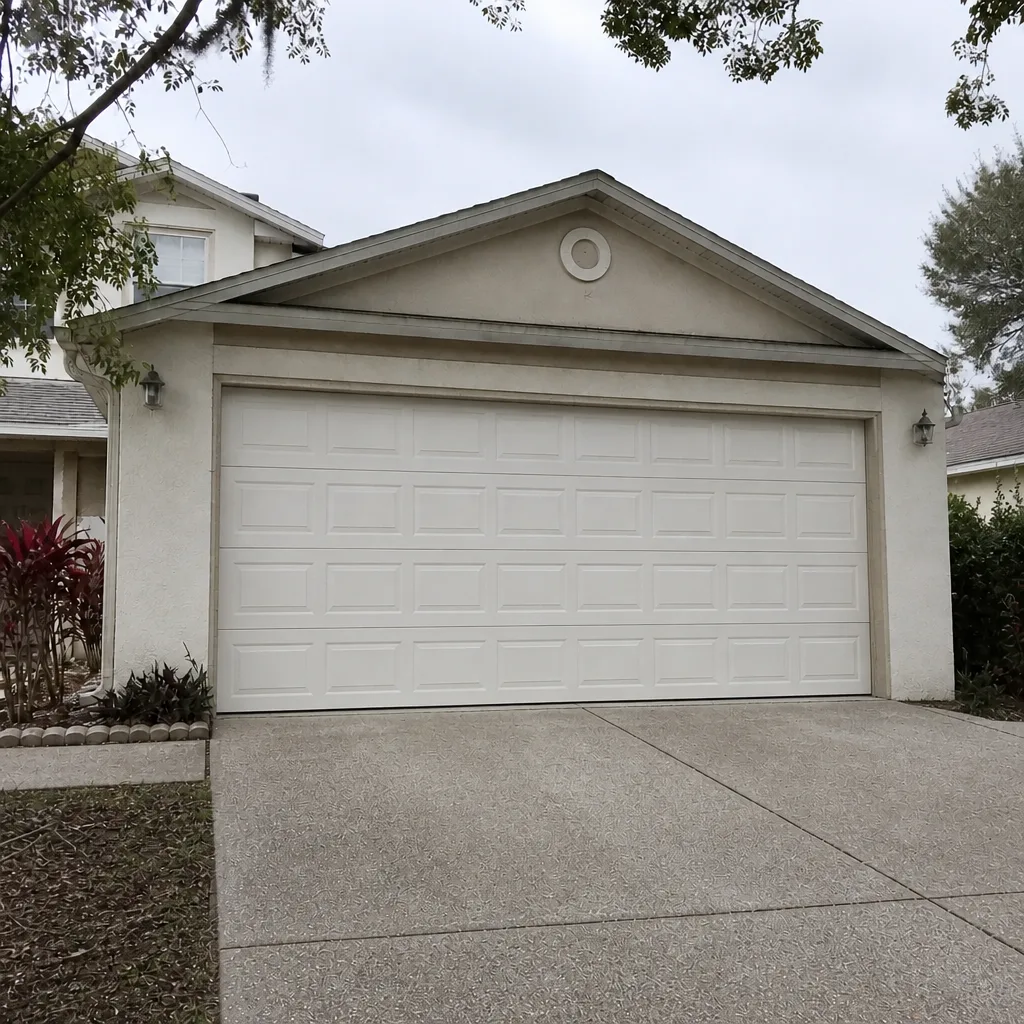 After
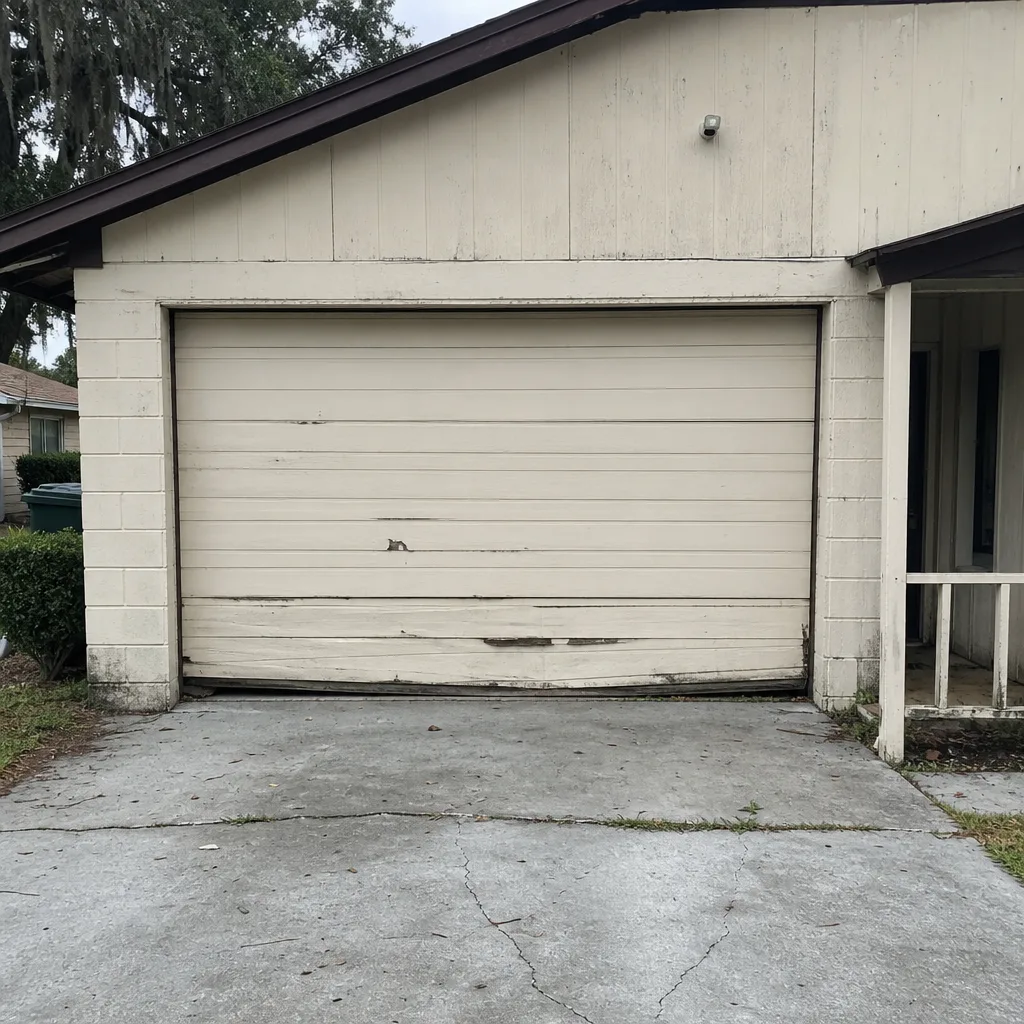 Before
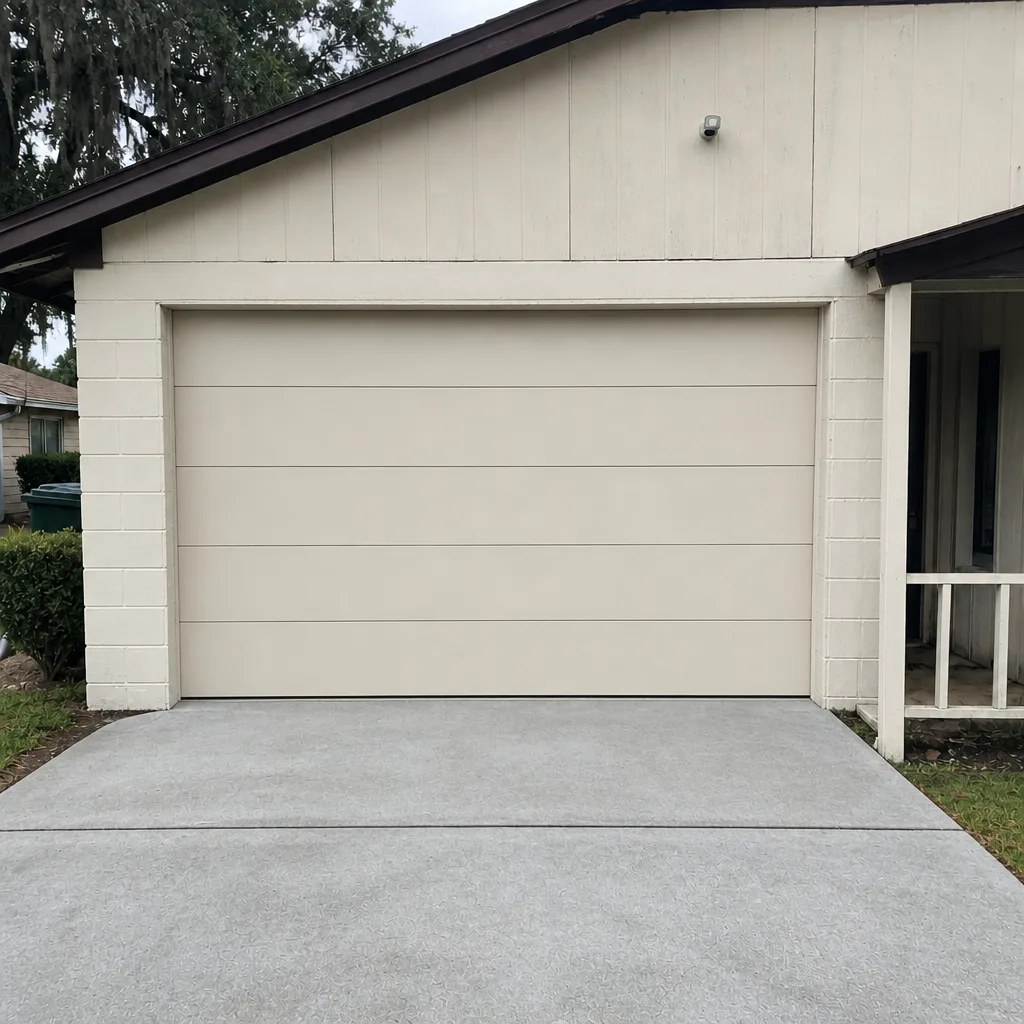 After
When to Call a Professional
Some things on this checklist are yours to handle: wiping lenses, spraying silicone, swapping weatherstripping. Plenty of others are not. Call a professional if a spring is rusty, split, or you’ve heard a bang and the door feels heavy. Call if the photo-eye won’t stay aligned after a clean lens and a clear path, or if the safety reverse fails the force test. Call if the door comes off its track, if the opener grinds or hesitates, or if the door won’t close and stay closed. And call before storm season if you want the full walk-through done right. Sanford Garage Door Repair Co offers free estimates in Sanford. Call (855) 658-4309. We answer 24/7. Fast dispatch from 7am to 7pm, Sunday through Friday.
Frequently Asked Questions
Twice a year is a solid baseline for most Sanford homes, plus a yearly storm-season walk-through. The humidity and storm exposure here wear parts faster than in drier climates, so photo-eye cleaning and lubrication need to happen more often than a northern maintenance calendar suggests.
Condensation on the photo-eye lens is the most common cause in Sanford. Moisture forms, collects dust and pollen, and the safety beam can’t read across the opening. Wipe both lenses with a dry cloth and check that the path is clear. If it keeps happening after a clean, the bracket may have shifted and needs alignment. Call (855) 658-4309 if it won’t stay fixed after cleaning.
Yes, on the hinges, rollers, track, and a light coat on the springs, using a silicone-based product. Skip the WD-40. The one thing you should never do is touch, adjust, or try to turn a spring or cable. That hardware is under extreme tension and belongs to a trained technician only.
Look, don’t touch. Stand back with the door closed and inspect for rust, visible gaps in torsion springs, and sagging extension springs. Confirm a safety cable runs through each extension spring. If you see corrosion or a split, or the door suddenly feels too heavy to lift, stop using it and call. Spring repair is dangerous work and one of the most commonly botched repairs in the trade.
It’s a good idea given the storm season, though not strictly required. A battery backup keeps the door working through a power outage. If you have one, test it yearly so you know it holds charge. Many LiftMaster and Chamberlain openers support a backup, and we can check yours.
The photo-eye. It’s the first thing to fail in Sanford’s humidity, it’s the cheapest to maintain, and it’s the most important safety feature on the door. Clean the lenses monthly and test the safety reverse seasonally. Everything else can wait a week if it has to.
The Bottom Line
A garage door checklist written for a four-season climate points you at the wrong parts in Sanford. Prioritize what this environment actually attacks: the photo-eye lens that fogs with condensation, the weatherstripping that swells and cracks, the silicone lubrication that WD-40 can’t replace, and the spring corrosion that turns into a break. Do the monthly and seasonal items yourself. Leave the springs, alignment, and opener internals to a specialist. When something on the list needs more than a rag and a spray can, Sanford Garage Door Repair Co is reachable at (855) 658-4309 for a free estimate.
Contact Us for a Free Estimate
If your maintenance check turns up a problem you’d rather not handle, or you’d like the full walk-through done before storm season, give us a call. We work on equipment from eight major brands, including the ones most shops turn away, and our technicians have up to 14 years of experience. Repair, opener work, and full installations all happen under one roof. Call Sanford Garage Door Repair Co at (855) 658-4309 for a free estimate. We answer 24/7. Fast dispatch from 7am to 7pm, Sunday through Friday. When the work is scheduled, the price is quoted and agreed before anything starts, and the written estimate sets the final price. For everything else we handle, start with Sanford Garage Door Repair Co.
Written by the team at Sanford Garage Door Repair Co.